invideo

First video guide

A practical guide to how to use invideo for beginners

If you are searching for how to use invideo for beginners, make a short video before attempting a complex edit. This guide walks you from a simple idea to a reviewed export, with checks that help you catch awkward visuals and pacing.

Review the draft before exporting
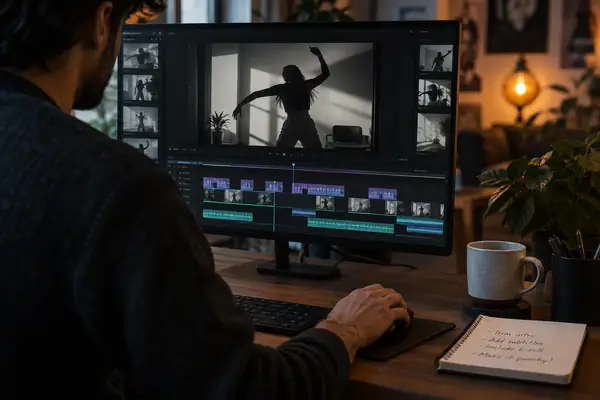
Invideo video creation imagery

numbered steps

For beginners, the quickest useful lesson is a complete, modest project—not a tour of every control.

  1. 1

    Describe the outcome

    Give Invideo a topic, audience, approximate length, format, and desired ending. A specific request gives you a more useful first draft than a topic alone.

  2. 2

    Review the draft

    Play the video from start to finish. Replace mismatched scenes, correct the words on screen, and shorten any section that repeats an earlier point.

  3. 3

    Check and export

    Watch once more with sound and once without it. Confirm that the captions are readable, the final frame is complete, and the format suits your destination.

Build the first draft scene by scene

Treat generated material as an editable starting point. These three passes turn an Invideo draft into a video that follows your brief.

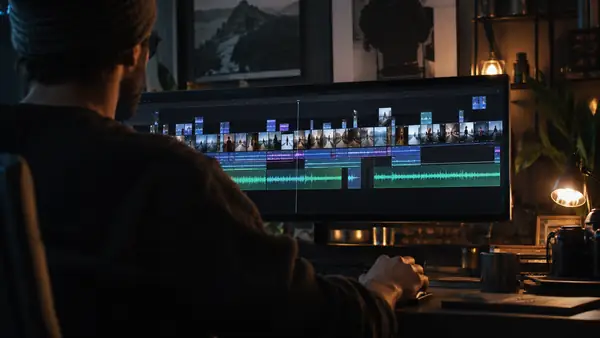
Plain-language video editing workspace

Start with a brief you can verify

For a first project, choose one message and three supporting points. State whether the video is vertical or horizontal, describe its audience, and specify a closing line. For example, a houseplant tip video might open with a common mistake, show three care tips, and end by reminding viewers to check the soil. Invideo has clearer direction when each scene has a job. Beginners should keep the script short enough to read aloud comfortably; a long prompt does not guarantee a better result.

PROMPT CHECK

Can someone unfamiliar with your idea identify the audience, topic, format, and ending from your request?
Video editing view with multiple shots

Match pictures to the words

Play the draft without stopping first, then inspect each scene. An attractive shot can still be wrong if it depicts a different object, action, or setting from the narration. Replace that visual or rewrite the line so the two agree. If a scene rushes past a key point, give it more time; if it says nothing new, cut it. Invideo is most useful here as an editor you guide, not a reason to accept the first combination of footage and text.

SCENE CHECK

Pause on each shot and ask whether it illustrates the sentence being spoken at that moment.

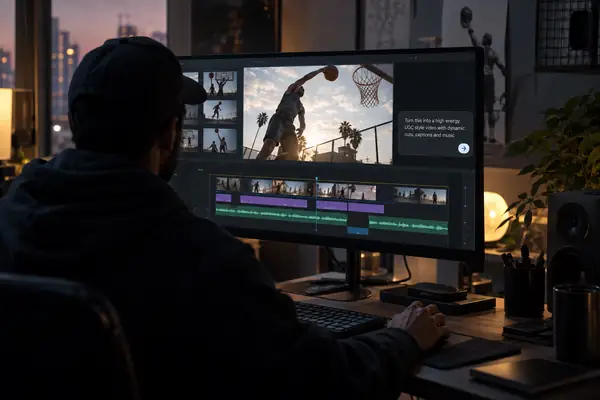
Video editing workspace for reviewing a draft

Finish for the way people watch

Check that captions do not cover an important face or object, that text stays on screen long enough to read, and that music does not drown out speech. Watch the first few seconds closely: they should explain what the viewer will get. Then inspect the final frame for a cut-off sentence or abrupt ending. Beginners can make a noticeably stronger Invideo video through this review without adding effects or learning every editing feature.

FINAL PASS

Watch with sound, then muted, before deciding the video is ready to export.

What to have ready

You do not need a finished script or your own footage to begin, but a few decisions prevent avoidable rework.

You must have

Without every one of these the route does not run.

  • One clear topic and the intended viewer

    Keep the first Invideo project focused on a single takeaway.

  • A format suited to where the video will appear

    Decide on vertical or horizontal before refining scene layouts.

  • A short outline with an opening, main points, and ending

    Bullet points are enough for a first draft.

  • Time to watch and correct the complete draft

    Do not plan to export the moment generation finishes.

Nice to have

Skip any of these and the route still works — they only make it faster.

  • Your own photos, footage, or brand wording

    Add them if accuracy or consistency depends on specific materials.

Choose a more specific walkthrough

Once the basic Invideo workflow makes sense, follow the guide that matches the kind of video you want to create.

A first-session timeline

Use these illustrative checkpoints to avoid spending the whole session adjusting one scene.

  1. Write the brief

    Pick the audience, central message, format, and closing line. Beginners can refer back to this brief whenever an Invideo suggestion looks appealing but does not serve the video.

  2. Watch without editing

    Let the first playback reveal the biggest problems. Note missing points, confusing transitions, and scenes that do not match their narration before making small changes.

  3. Fix meaning before style

    Correct factual statements and mismatched visuals first. Only then adjust timing, captions, and audio; decorative changes cannot rescue an unclear message.

  4. Run two final checks

    Watch with sound for narration and music balance, then muted for caption clarity. Check the opening and ending in both passes.

common errors and fixes

Most first-draft problems are easier to solve by changing the brief or one scene than by starting over.

The prompt is too broad

A request such as “make a video about plants” leaves Invideo to choose the audience, focus, and structure. The draft may cover points you never intended.

Workaround

Name the viewer, specify three points, and describe the opening and final line before generating another draft.

A visual implies the wrong fact

Generated scene choices can look relevant at a glance while contradicting the narration. A polished transition does not make that pairing accurate.

Workaround

Replace the shot, supply appropriate material, or change the sentence so the visual and claim agree.

Captions or pacing break the message

Text may pass too quickly, overlap an important subject, or remain after the narration has moved on.

Workaround

Shorten the wording, adjust the scene timing, and replay the section on a smaller screen.

The export is treated as the first review

Invideo cannot decide whether a detail is true, permission is in place for your materials, or the finished video fits your audience.

Workaround

Verify claims and rights yourself, then watch the complete preview before exporting.

advanced tips

Make the next draft easier to edit

Once you have finished one Invideo video, keep the brief and note which instructions produced useful scenes. On the next project, ask for shorter on-screen text, describe the kind of visuals each point needs, and revise one problem at a time. This gives beginners a repeatable process instead of a collection of effects.

Create video draft
  • Save a brief that worked
  • Give each scene one purpose
  • Review meaning before polish

tutorial FAQ

Start with a specific description of the video you want, including its audience, main points, format, and ending. Review the resulting draft scene by scene, correct its text and visuals, and watch the full video before exporting. For beginners, finishing one short project teaches more than exploring every control at once.

Include the topic, who the video is for, the points it must cover, and whether it should be vertical or horizontal. Add an approximate length and a clear ending if those matter to your project. Treat the prompt as a brief you can use to judge the draft, not as a guarantee that every scene will be correct.

You can begin with an outline and review the visuals in the draft afterward. Bring your own footage or photos when the video needs to show a particular person, place, or product accurately. Whatever material you use, check that you have permission to include it.

Confirm that the narration and visuals agree, captions are readable, and the opening makes the topic clear. Watch with sound to check audio balance, then muted to see whether the message still makes sense. Verify factual claims and make sure the final frame does not cut off your ending.

Start creating
Start creating